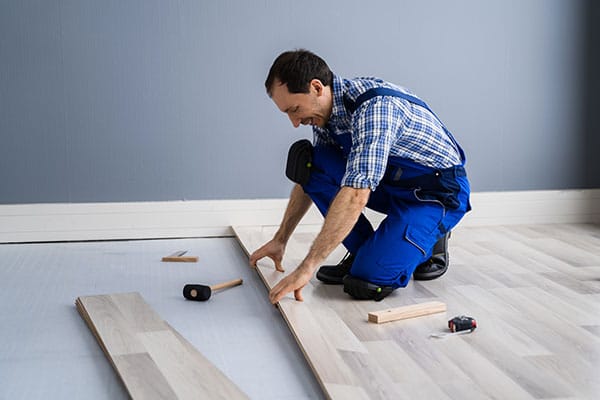
Flooring Southlake TX Depending on the severity of the cracks, you can use various methods and materials to effectively repair them.

Here’s a detailed guide on how to repair cracks in a garage floor:
- Assess the Severity of the Cracks: Before beginning the repair process, thoroughly inspect the garage floor to assess the size, depth, and extent of the cracks. Determine whether the cracks are minor surface cracks or more significant structural issues that require professional assessment and repair.
- Gather Your Materials and Tools: Depending on the type of crack and repair method chosen, you’ll need the following materials and tools:
- Concrete crack filler or epoxy resin
- Concrete patching compound
- Concrete bonding agent
- Putty knife or trowel
- Wire brush or broom
- Safety goggles and gloves
- Dust mask
- Concrete sealer (optional)
- Prepare the Surface: Clean the cracked area of the garage floor thoroughly to remove dirt, dust, and debris. Use a wire brush or broom to sweep away loose particles and vacuum the area to ensure a clean surface for repair. Wear safety goggles, gloves, and a dust mask during this process to protect yourself from airborne particles.
- Open and Clean the Cracks: Use a putty knife or trowel to open up the cracks slightly and remove any loose concrete fragments or debris from within the cracks. Clean the cracks thoroughly with water and a mild detergent to remove any remaining dirt, oil, or grease. Allow the cracks to dry completely before proceeding.
- Apply Concrete Bonding Agent (for Deep Cracks): If the cracks are deep or extensive, apply a concrete bonding agent to the inside of the cracks according to the manufacturer’s instructions. The bonding agent helps improve the adhesion of the repair material to the existing concrete surface and enhances the overall strength of the repair.
- Fill the Cracks with Concrete Patching Compound: For small to medium-sized cracks, fill the cracks with a concrete patching compound using a putty knife or trowel. Apply the patching compound evenly, ensuring that it fills the entire crack and is level with the surrounding surface. Smooth out the surface of the patching compound with the putty knife or trowel.
- Use Concrete Crack Filler or Epoxy Resin (for Hairline Cracks): For hairline cracks or narrow cracks, use a concrete crack filler or epoxy resin specifically designed for crack repair. Apply the crack filler or epoxy resin into the cracks using a caulking gun or squeeze bottle, ensuring that the material penetrates into the crack fully. Smooth out the surface with a putty knife or trowel.
- Allow the Repair Material to Cure: Allow the repair material to cure and harden according to the manufacturer’s instructions. This typically involves a curing time of 24 to 48 hours, depending on the product used and environmental conditions. Keep the repaired area protected from foot traffic and heavy loads during the curing process.
- Finish and Seal the Repaired Area (optional): Once the repair material has cured completely, you can optionally apply a concrete sealer to the repaired area to protect it from future damage and stains. Follow the manufacturer’s instructions for the application of the concrete sealer, and allow it to dry thoroughly before resuming normal use of the garage floor.
- Monitor and Maintain the Repaired Area: Regularly inspect the repaired cracks to ensure that they remain intact and free of damage. If you notice any signs of cracking or deterioration, promptly address them to prevent further damage to the garage floor. Additionally, perform routine maintenance tasks such as cleaning and sealing the garage floor to prolong its lifespan and durability.
If you encounter extensive or severe cracks that require professional attention, consult with a Flooring Southlake TX or concrete specialist for expert guidance and repair services.
Floor N More
1621 E Southlake Blvd, Southlake, TX 76092, United States
1-817-310-6331
