
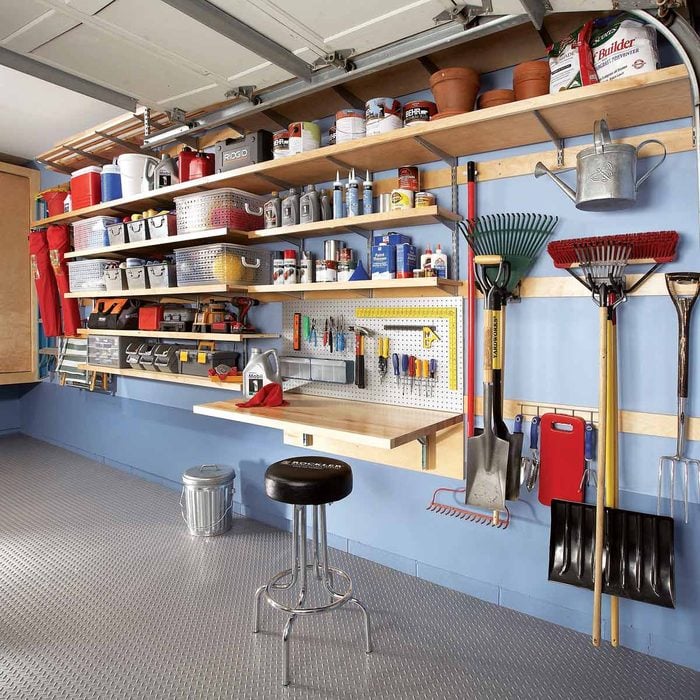
Garage Storage Solution Bennington NE Whether you’re storing tools, sports equipment, gardening supplies, or household items, custom-built shelves can help you make the most of your garage space.
Here’s a step-by-step guide on how to build garage shelves:
1. Gather Materials and Tools:
- Before you begin, gather the necessary materials and tools for the project. You’ll need:
- Wood boards (such as plywood or 1×4 lumber) for shelves
- Wood screws
- L-brackets or corner braces
- Level
- Drill with drill bits
- Saw (circular saw or miter saw)
- Tape measure
- Pencil
- Safety glasses
- Work gloves
2. Measure and Plan:
- Measure the dimensions of your garage space to determine the size and layout of your shelves. Consider factors such as the height of your garage ceiling, the depth of the shelves, and the distance between shelves. Sketch out a plan for your shelves, including the number of shelves and their placement.
3. Cut Shelf Boards:
- Use a saw to cut the wood boards to the desired length for your shelves. For standard-size shelves, you can cut the boards to the width of your garage space. For adjustable shelves, cut multiple boards to the desired length.
4. Assemble Shelf Frames:
- Assemble the frames for your shelves using the cut wood boards. Attach two vertical boards to two horizontal boards to create a rectangular frame for each shelf. Use wood screws to secure the boards together at the corners.
5. Install Shelf Supports:
- Determine the placement of the shelves in your garage and mark the locations on the walls. Use a level to ensure that the shelves will be installed evenly. Install L-brackets or corner braces on the wall at each shelf location, using screws to secure them to the wall studs.
6. Attach Shelf Frames:
- Position the shelf frames on top of the installed supports, ensuring that they are level and aligned with your markings on the wall. Use wood screws to attach the frames to the supports, driving the screws through the bottom of the frames into the supports.
7. Add Shelf Boards:
- Place the cut wood boards on top of the shelf frames to create the shelves. Adjust the spacing between shelves as needed to accommodate the items you plan to store. Secure the boards to the frames with wood screws, driving the screws through the top of the boards into the frames.
8. Secure Shelves (Optional):
- For added stability, you can secure the shelves to the wall using additional screws or brackets. Drive screws through the sides or back of the shelves into the wall studs, or use L-brackets to attach the shelves to the wall.
9. Test and Adjust:
- Once the shelves are installed, test their stability and weight-bearing capacity by placing items on them. Make any necessary adjustments to the shelf placement or support structure to ensure that the shelves are secure and level.
10. Organize and Enjoy:
- With your new garage shelves in place, organize your belongings and enjoy the added storage space and organization in your garage. Consider labeling shelves or using storage bins to keep items organized and easily accessible.
Conclusion:
Garage Storage Solution Bennington NE By following these steps and using basic materials and tools, you can create custom-built shelves that meet your storage needs and help you keep your garage clutter-free.
Platinum Garage Solutions
15225 Harvest Ln #1, Bennington, NE 68007
1-402-739-8444